Getting started with Smart Gallery Hub
1. Install Smart Gallery Hub
Download for Windows or Mac → run the installer → launch.
Windows
Run SGH-Setup.exe → follow the installer → done.
Mac — first-launch warning
SGH is not Apple-notarised, so macOS blocks the first launch. Two extra clicks to allow it:
a. Double-click SGH - Smart Gallery Hub.app. macOS shows:
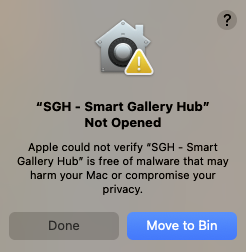
Click Done (do not Move to Bin).
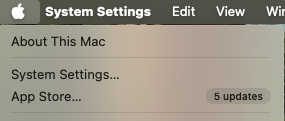
b. Open the Apple menu → System Settings…:
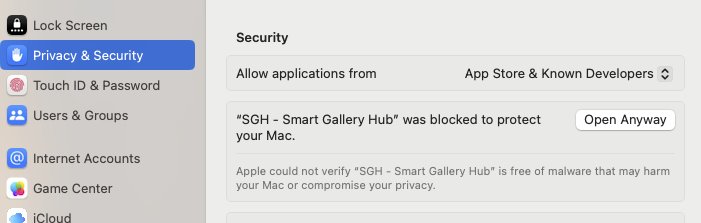
c. Go to Privacy & Security. Scroll to the Security section. You’ll see “SGH - Smart Gallery Hub was blocked”. Click Open Anyway:
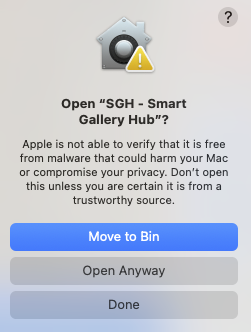
d. macOS asks one more time. Click Open Anyway:
SGH launches. You only need to do this once.
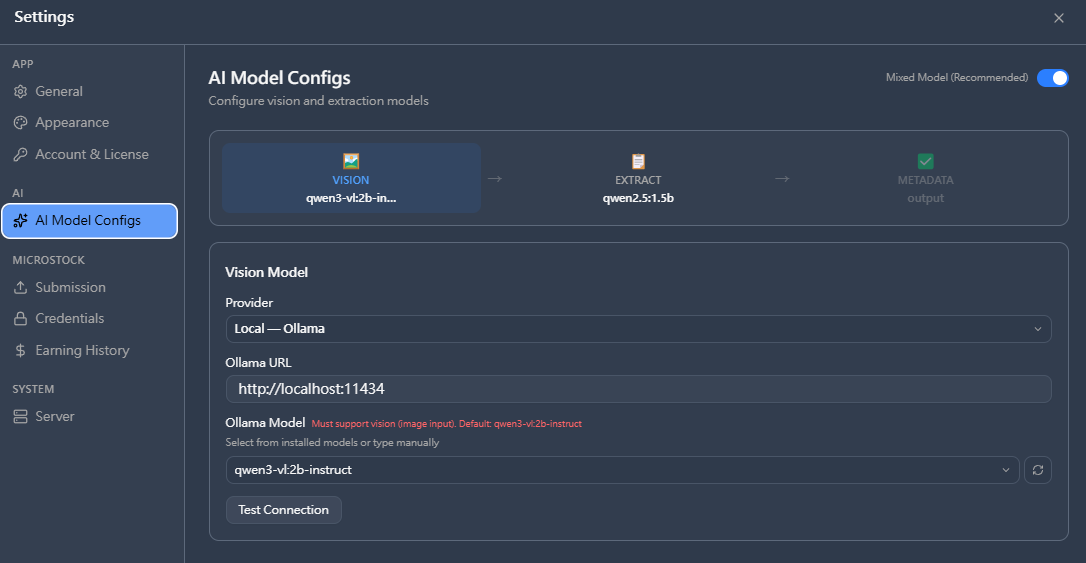
2. Install Ollama
Install Ollama for your platform.
SGH auto-downloads the vision + extract models on first run. Confirm in Settings → AI Model Configs:
3. Add a folder
Click + Add folder → browse to your folder → pick a content type:
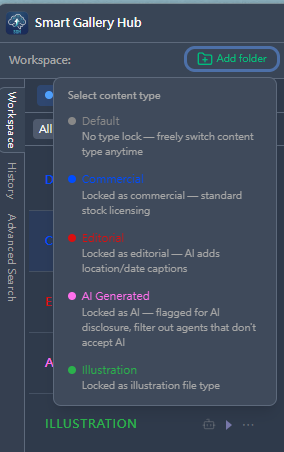
| Type | When |
|---|---|
| Commercial | No people, no logos |
| Editorial | News / documentary (GPS auto-fills caption) |
| AI Generated | Made with generative AI |
| Illustration | Vector / hand-drawn |

4. Set AI hints (optional)
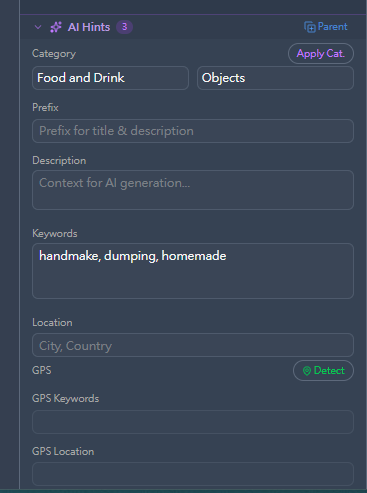
Add a Category, must-have Keywords, or Location to sharpen the AI’s output for the whole batch.
5. Run AI
Operate → AI. Click any thumbnail to review:
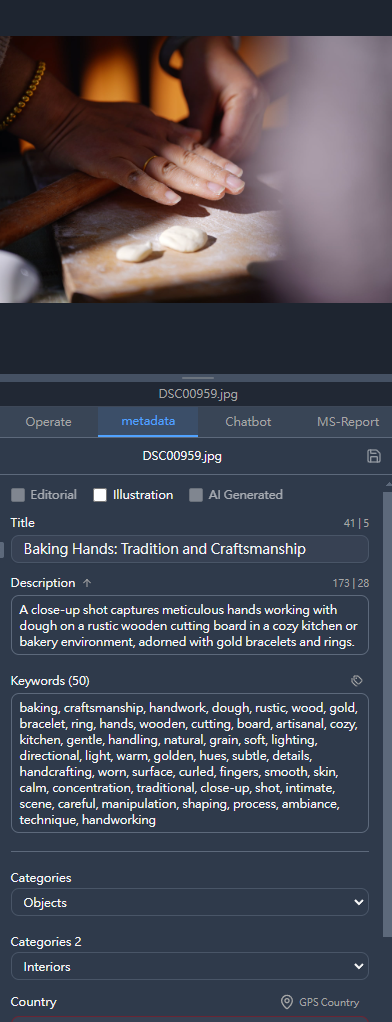
Edit the title/keywords if generic.
6. Submit
Operate → Adobestock / Shutterstock / Getty:
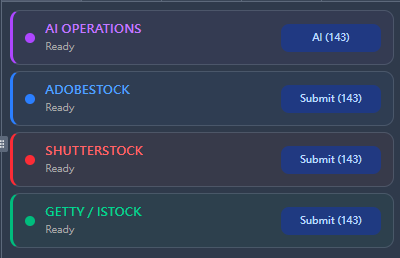
Smart Submit skips already-submitted files, skips files without metadata, retries failures, and resumes after interruptions.
You need agency credentials first → Set up your agency credentials.
7. Check approval
Open a submitted image’s Operate tab → Check Approval:
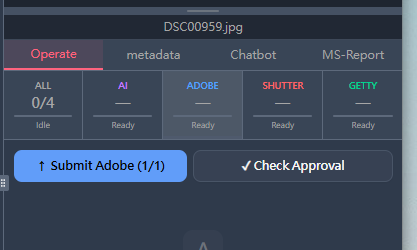
Status flows back into the workspace status strip.
8. Fetch earnings
Open MS-Report tab → Fetch Earnings (or Backfill History for past data):
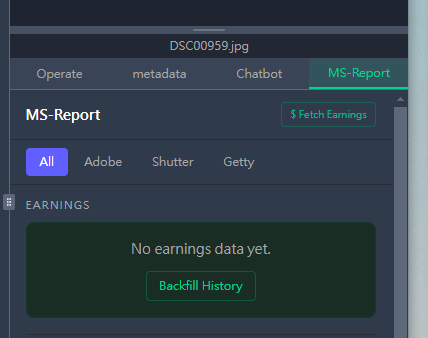
Filter by Adobe / Shutter / Getty to see who pays most.